

In recent years, Internet Protocol Television (IPTV) has gained immense popularity, allowing users to stream television channels and on-demand content over the internet. For MacBook users, setting up IPTV can enhance your viewing experience by providing access to a wide array of channels and programs. This article will guide you through the process of installing IPTV on your MacBook, ensuring you can enjoy your favorite content seamlessly.

Table of Contents
What You Need to Get Started
Before diving into the installation process, ensure you have the following:
- A MacBook: Any model that runs macOS.
- An IPTV Subscription: A legitimate IPTV service that provides you with a playlist (usually in M3U format) or a portal URL.
- An Internet Connection: A stable and fast internet connection for smooth streaming.
Step-by-Step Guide to Installing IPTV on Your MacBook
Step 1: Choose an IPTV Application
Several IPTV applications are available for macOS. Here are some popular options:
- VLC Media Player: A versatile media player that supports various formats, including IPTV streams.
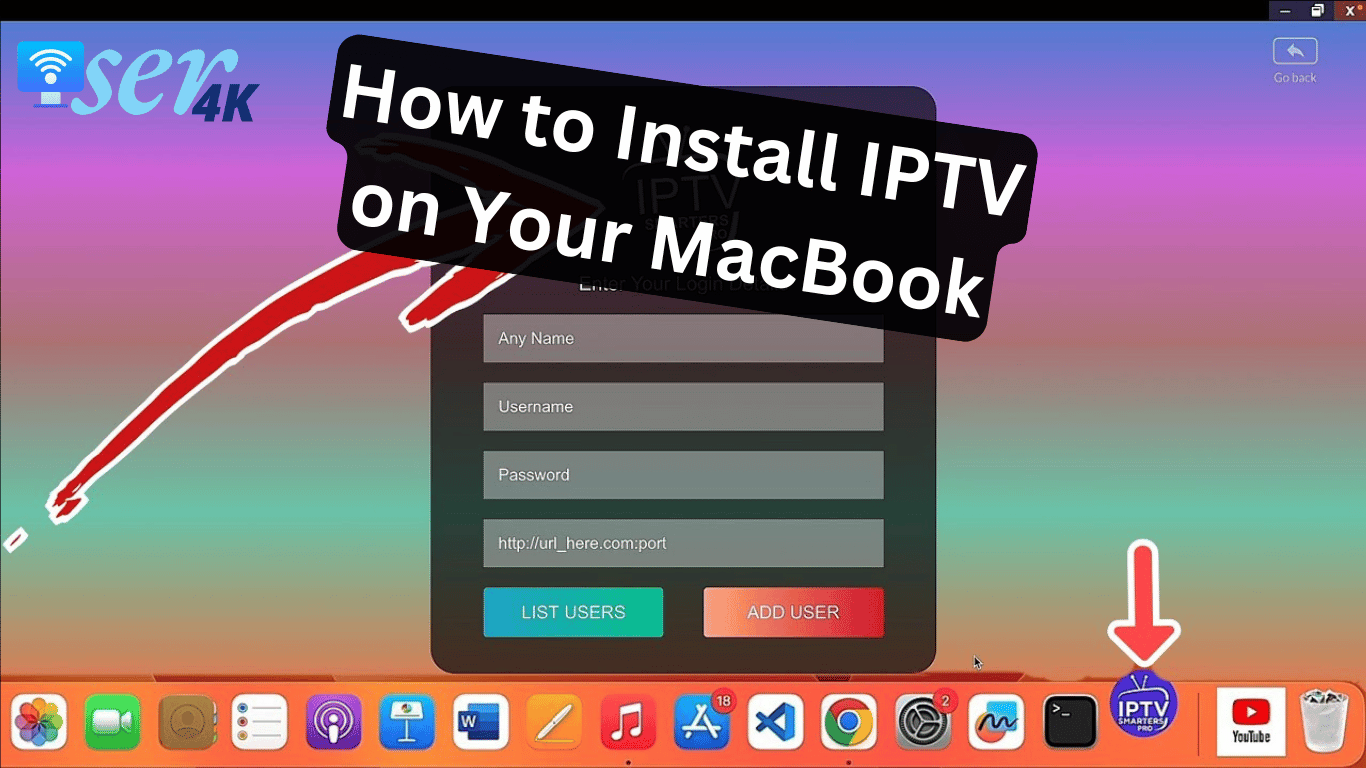
- IPTV Smarters Pro: A user-friendly interface specifically designed for IPTV streaming.
- GSE Smart IPTV: A powerful IPTV app that supports multiple formats and playlists.
For this guide, we will focus on using VLC Media Player, but the steps are similar for other applications.
Step 2: Download and Install VLC Media Player
- Visit the Official Website: Go to the VLC Media Player website.
- Download the Application: Click on the “Download VLC” button for macOS.
- Install the Application: Open the downloaded file and drag the VLC icon into your Applications folder.
Step 3: Obtain Your IPTV Playlist
Your IPTV service provider will typically provide you with a playlist URL (M3U) or a file. Make sure to keep this information handy.
Step 4: Open VLC and Load Your IPTV Playlist
- Launch VLC Media Player: Open the VLC application from your Applications folder.
- Access the Network Stream:
- Click on
Filein the menu bar. - Select
Open Network…from the dropdown menu.
- Click on
- Enter Your Playlist URL:
- In the dialog box that appears, paste your M3U playlist URL.
- Click on the
Openbutton.
Step 5: Enjoy Your IPTV Content
Once you have loaded your playlist, VLC will start streaming the channels included in the playlist. You can navigate through the channels using the player’s interface.
Alternative IPTV Applications
If you prefer a more tailored IPTV experience, consider these alternative applications:
- IPTV Smarters Pro:
- Download from the official website.
- Follow similar steps to add your M3U playlist or portal URL.
- GSE Smart IPTV:
- Available on the Mac App Store.
- Offers additional features like EPG (Electronic Program Guide) support.
Troubleshooting Common Issues
- Buffering or Lag: Ensure your internet connection is stable. Consider using a wired connection for better performance.
- Invalid Playlist: Double-check the playlist URL provided by your IPTV service. Make sure it is active and correctly formatted.
- App Compatibility: If you encounter issues with one app, try another. Different apps may have varying levels of support for specific IPTV formats.
Conclusion
Installing IPTV on your MacBook opens up a world of entertainment possibilities. By following the steps outlined in this guide, you can enjoy a diverse range of channels and content right from your device. Always ensure that you are using legitimate IPTV services to comply with legal regulations and enjoy a hassle-free viewing experience. Happy streaming!